
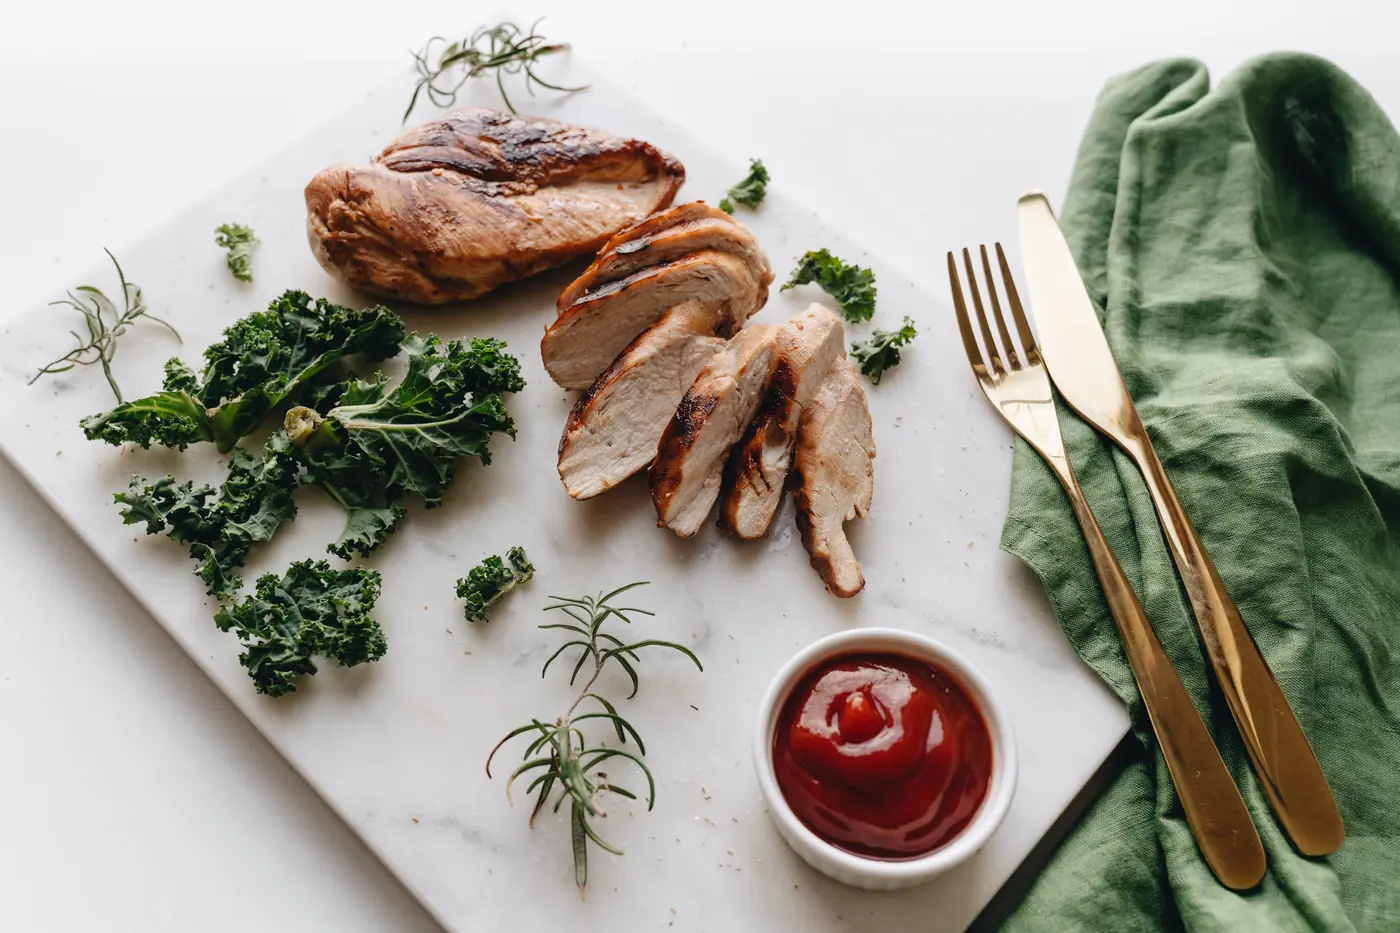
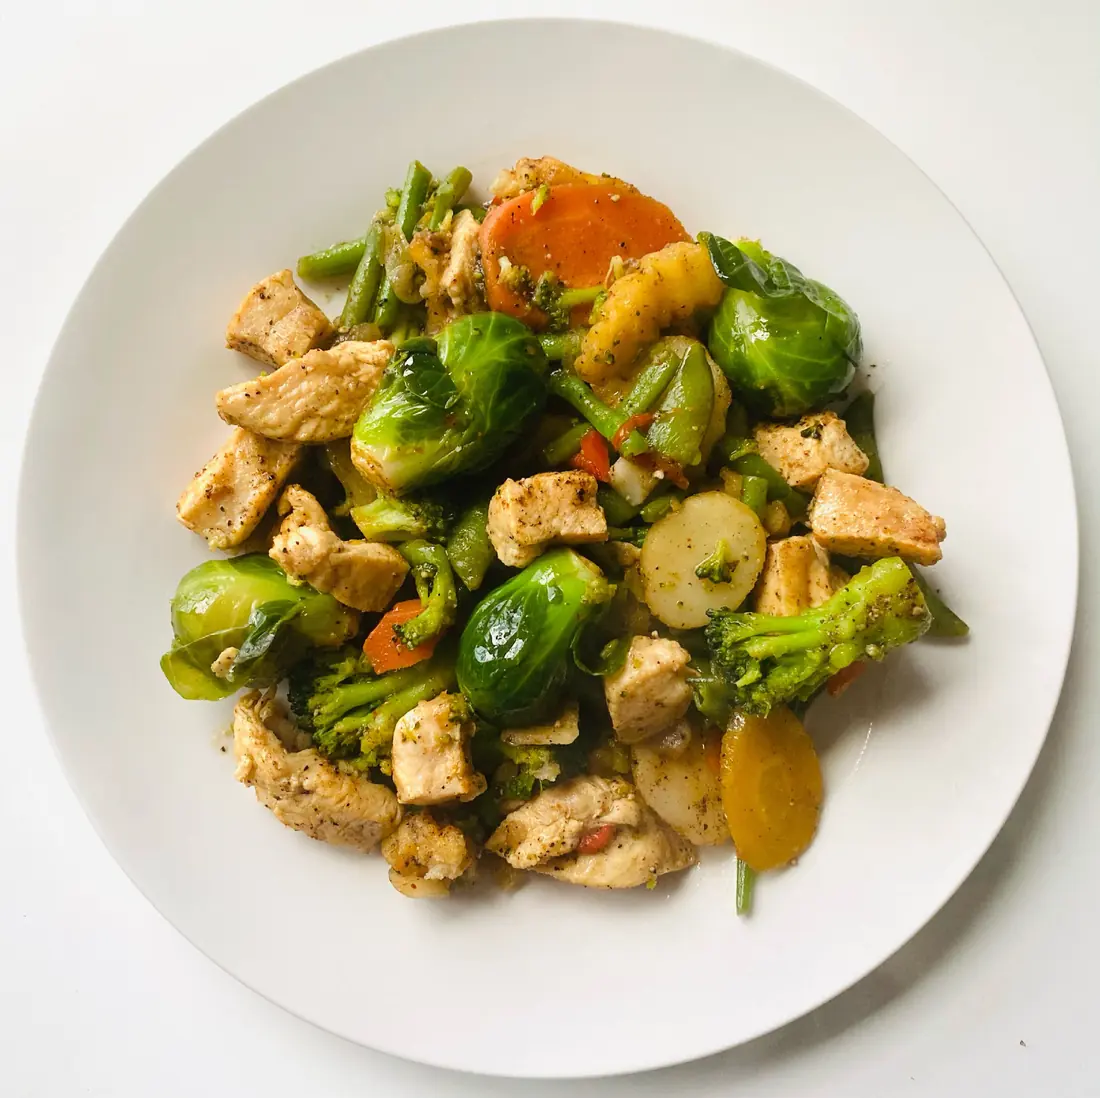
Chicken in a restaurant stir fry is silky and yielding. Chicken in the version you make at home is often dry and slightly stringy, from the same cut and the same pan. The difference is a step almost no home recipe mentions.
The short answer
The meat has been coated in a starch mixture before cooking. The technique is usually called velveting, and it takes about fifteen minutes of standing time and no skill at all.
It is not a marinade in the usual sense – it is not there to add flavour. It is there to change what happens to the surface of the meat when it hits heat.

What is actually happening
Meat toughens because its proteins contract and squeeze out moisture as they cook. Once that water is gone the texture is fixed, and no amount of sauce puts it back.
A starch coating interrupts that. It forms a thin gel around each piece that both slows heat reaching the surface and holds released moisture against the meat instead of letting it escape into the pan.
Britannica’s entry on starch covers why it behaves this way – starch granules absorb water and swell when heated, which is the same property that thickens a sauce, applied here to a surface instead.
What goes into the coating
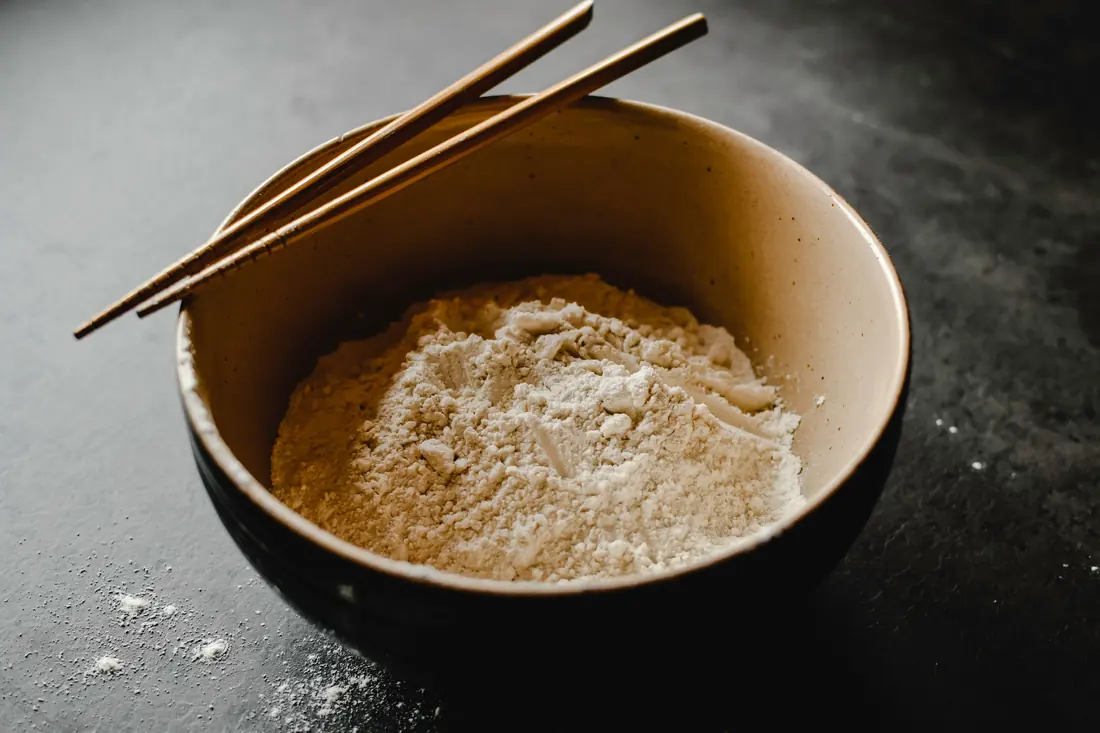
- Cornstarch – the essential part, and the one doing the work.
- Egg white – common in the traditional version, adding a little more body to the coating.
- A liquid – water, rice wine or soy sauce, enough to make a slurry rather than a paste.
- Oil – a small amount, which keeps the pieces from sticking to each other.
- Salt or soy – seasoning, though the coating is not primarily about flavour.
Proportions are forgiving. Roughly a tablespoon of cornstarch and a tablespoon of liquid per pound of meat is a workable starting point, and the mixture should coat rather than cling in lumps.
Cutting matters as much as coating
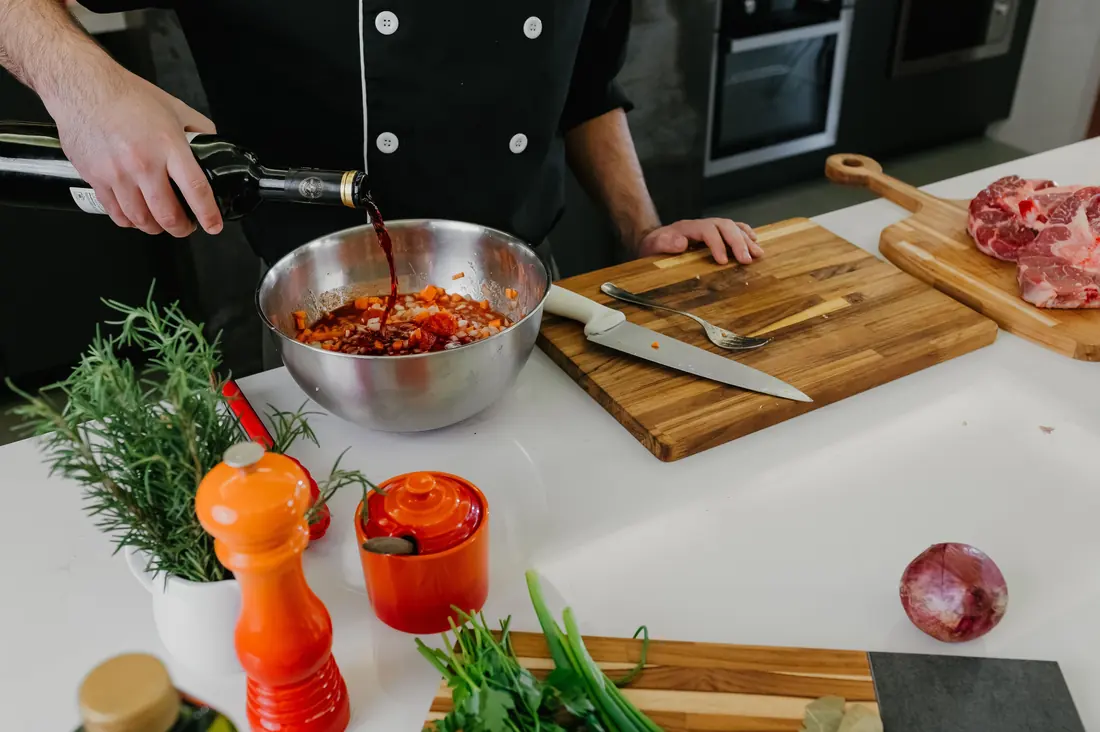
The coating cannot rescue meat that has been badly cut, and two things about the cut decide how tender the result can be.
The first is thickness. Thin slices cook through before the interior has time to toughen; thick pieces need longer, and by then the outside has gone. Restaurant slices are noticeably thinner than most home cooks bother with.
The second is direction. Muscle fibres run along a piece of meat, and slicing across them rather than along them shortens each fibre, so less work is needed to break it down when eating. Slicing the wrong way produces long fibres and a stringy result no technique will fix.
The two ways it is cooked
Once coated, the meat is set before it joins the dish – and there are two methods.
| Oil-blanched | Water-blanched | |
|---|---|---|
| Method | Briefly through warm oil | Briefly through simmering water |
| Temperature | Moderate, not frying hot | Just below a rolling boil |
| Time | Under a minute | Around a minute |
| Result | Silkier, slightly richer | Cleaner, lighter |
| Used for | Most restaurant stir fries | Lighter dishes and soups |
| At home | Awkward – needs a lot of oil | Practical |
The meat is only partly cooked at this stage. It finishes in the pan with everything else, which is why it spends so little total time over direct heat.
Why the two-stage cooking matters
This is the part that most explains the texture difference. Home cooking usually puts raw meat into a pan and leaves it there for the whole cook, so it is exposed to heat for several minutes.
Restaurant practice sets the meat gently, removes it, cooks everything else, and returns the meat for the last few seconds. The total time is similar; the time at high heat is a fraction of it.
Baking soda is a different technique
You will also see baking soda recommended for tender meat, and it is worth not confusing the two. Baking soda raises the surface pH, which genuinely does prevent proteins binding as tightly, and it works on tougher cuts where velveting does nothing.
It is also much easier to overdo. Too much, or too long, and the meat turns unpleasantly soft and picks up a soapy note. A brief treatment followed by a thorough rinse is the usual approach, and many kitchens use both techniques together – soda first, then a starch coating.
It is not tenderising in the usual sense
Worth being precise here, because the word tender is doing two jobs. Velveting does not break down the meat the way a long braise or an acidic marinade does – nothing is being dissolved.
What it does is prevent moisture loss. The meat is not made softer than it started; it is stopped from becoming tougher than it started. That is a different mechanism and it works on a much shorter timescale.
It also means velveting does nothing useful for a tough cut. It protects a tender cut through fast cooking, which is exactly the situation a stir fry creates.
Timing at the pan matters too. Velveted meat that goes back in too early sits in the sauce and loses the surface it was given; returned in the last few seconds it arrives at the table with the coating still distinct.
Doing it at home
- Slice the meat thinly against the grain – the coating cannot compensate for thick pieces.
- Mix cornstarch with a little liquid and toss the meat through until evenly coated.
- Leave it fifteen to thirty minutes in the fridge.
- Blanch briefly in simmering water, then drain. This is the practical home version.
- Set the meat aside, cook everything else, and return it at the very end.
The single most common mistake is skipping the resting time. The starch needs a few minutes to hydrate against the surface, and meat cooked immediately after coating behaves much like uncoated meat.
What else the coating does
Two side effects are worth knowing, because they are part of why the technique is standard rather than optional.
- It thickens the sauce. Starch clinging to the meat comes off into the pan and helps the sauce coat everything, which is part of why restaurant stir fry sauces cling rather than pool.
- It stops sticking. Coated meat releases from a hot surface far more readily than bare meat, which matters when a cook is moving fast.
Both are reasons a kitchen would velvet even if the texture were not the point. The technique earns its place several times over.
Where else you have eaten it
Once you know the texture, it is recognisable everywhere. Any dish where the meat is notably smooth and slightly slippery rather than fibrous has almost certainly been treated this way.
It is used for chicken, pork and beef alike, and for shrimp, where it does the same job of protecting something delicate through fast cooking. It is one of the quietest and most consistent differences between restaurant and home cooking in this cuisine.
For the other half of the answer, our piece on wok heat covers what the pan is doing, the noodle comparison covers the dishes it turns up in, and the hibachi plate guide covers the grilled version of the same protein. The current selection is on the ordering page.
Frequently Asked Questions
Why is restaurant chicken so tender?
It has usually been velveted – coated in a starch mixture before cooking, which holds moisture against the meat and slows heat reaching the surface.
What is velveting?
Coating meat in cornstarch, often with egg white and a little liquid, resting it briefly, then setting it in warm oil or simmering water before it joins the dish.
Does velveting actually tenderise the meat?
Not in the sense of breaking it down. It prevents moisture loss, so the meat does not toughen. It will not help a tough cut.
Can I velvet meat at home?
Easily. Toss thinly sliced meat with cornstarch and a little liquid, rest it fifteen minutes, blanch briefly in simmering water, then add it at the end of cooking.
How long should the meat rest after coating?
Fifteen to thirty minutes. The starch needs time to hydrate against the surface, and cooking immediately gives much the same result as no coating at all.